

How to Integrate JivoChat with Ottokit
This guide will walk you through the process of connecting your JivoChat account to Ottokit to automate your workflows. By using webhooks, you can trigger actions in other applications whenever an event occurs in JivoChat.
Step 1: Sign Up or Log In to Ottokit
First, you need an Ottokit account.
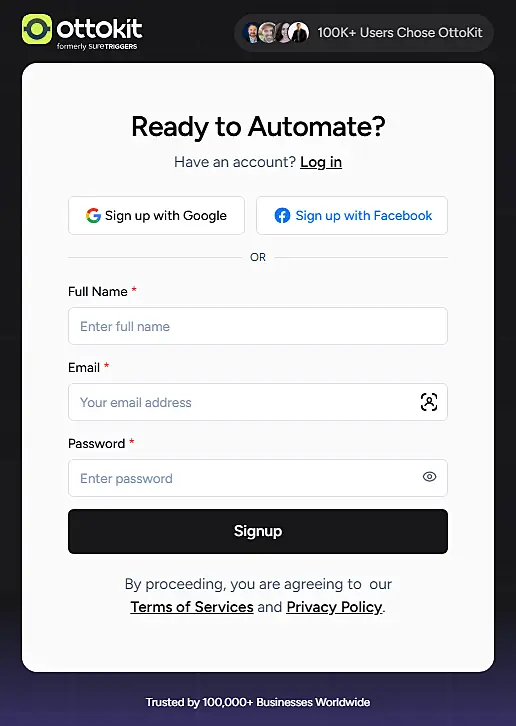
Go to the Ottokit website.
Sign up for a new account or log in to your existing account.
Step 2: Create a New Workflow
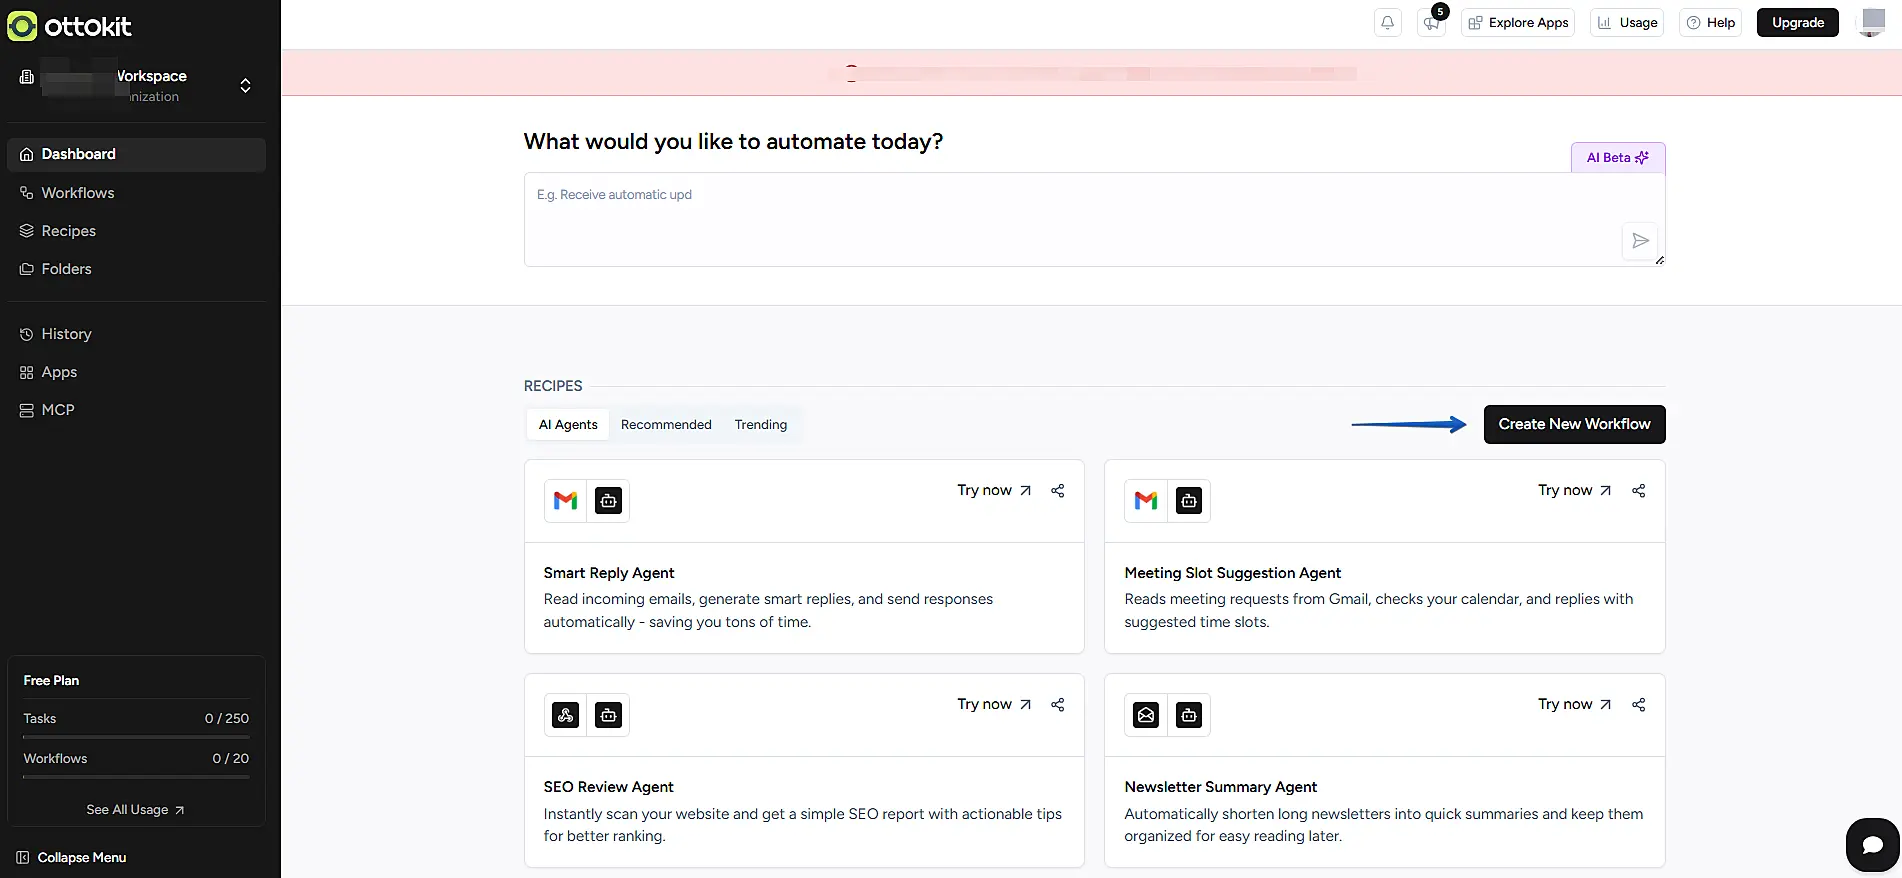
Once you are logged into your Ottokit dashboard, you can begin creating your automation.
Find and click the Create New Workflow button.
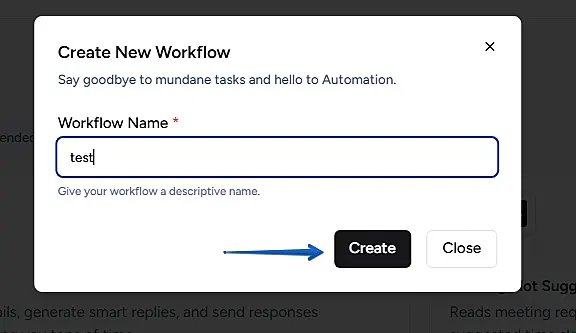
A dialog box will appear. Enter a name for your workflow (e.g., "test") and click Create.
Step 3: Set Up the JivoChat Trigger
The first step in any workflow is the "trigger," which is the event that starts the automation.
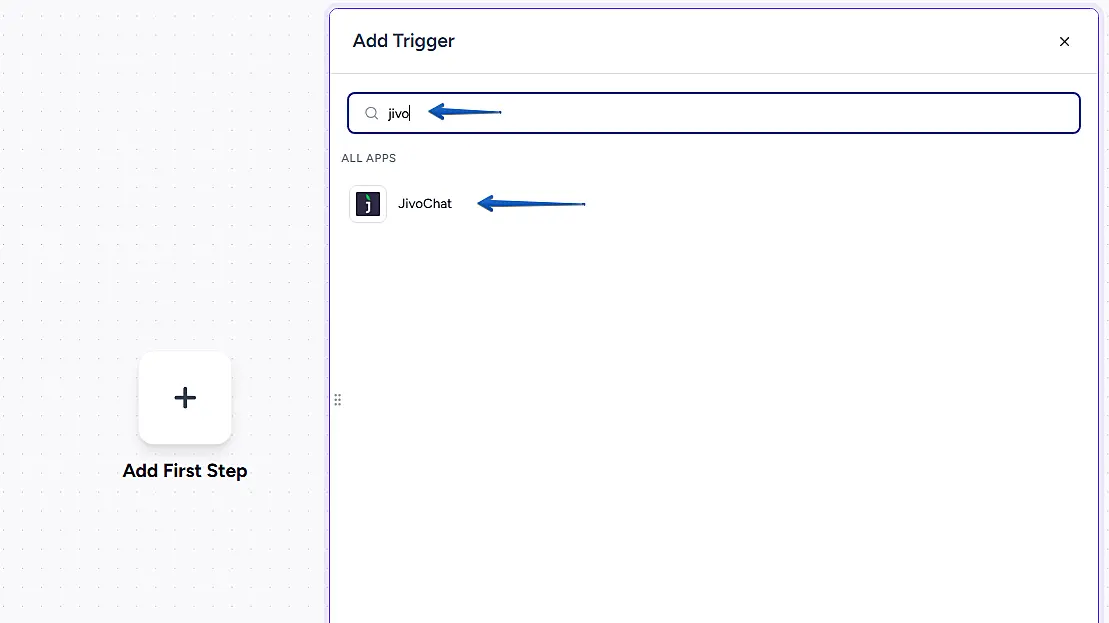
On the workflow canvas, click the Add First Step button.
This will open the "Add Trigger" menu. In the search bar, type "JivoChat" and select it from the list of applications.
Step 4: Configure the Webhook URL
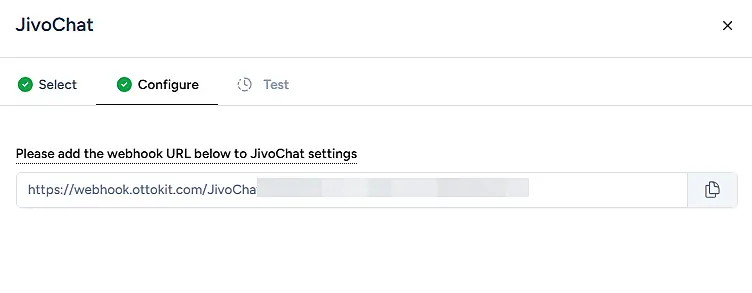
To connect the two platforms, you'll use a webhook URL provided by Ottokit.
Ottokit will generate a unique webhook URL. Click the copy icon to copy it to your clipboard.
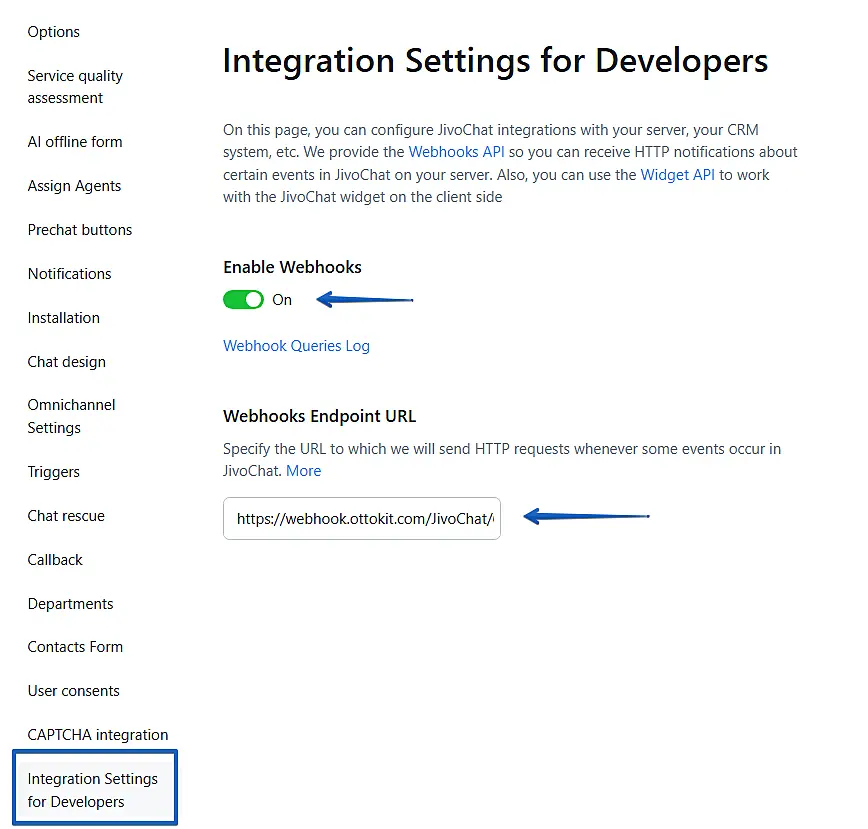
Next, log in to your JivoChat account. Navigate to Integration Settings for Developers.
Click here for detailed info about webhooks from JivoChat
Make sure Enable Webhooks is toggled On.
Paste the URL you copied from Ottokit into the Webhooks Endpoint URL field and save your changes.
Step 5: Test the Trigger
Now, return to Ottokit to test that the connection is working.
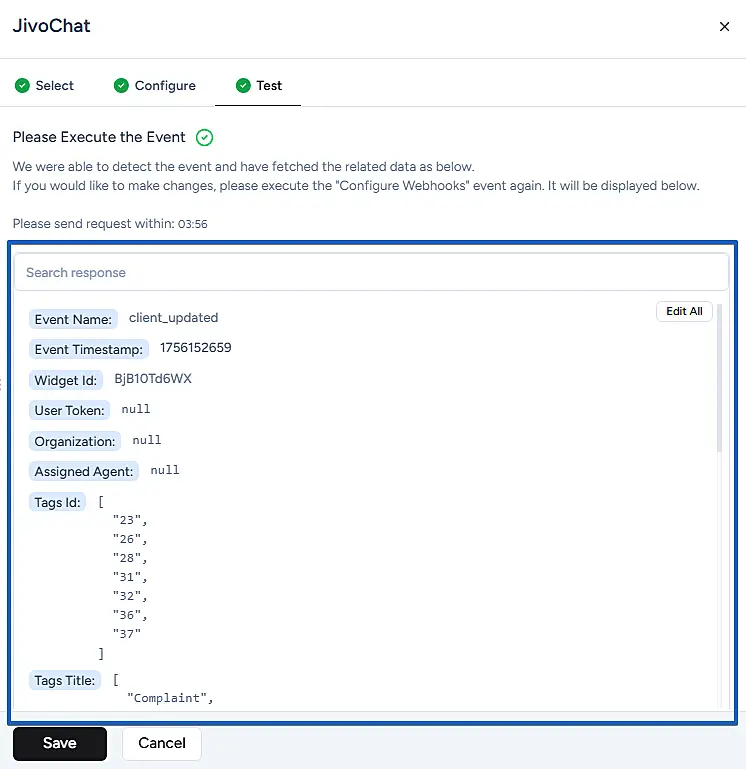
To send a test event, perform an action in JivoChat (for example, update a client's details or complete a chat).
Ottokit will listen for this event. Once received, it will display the data it fetched from JivoChat, confirming a successful connection. Click Save.
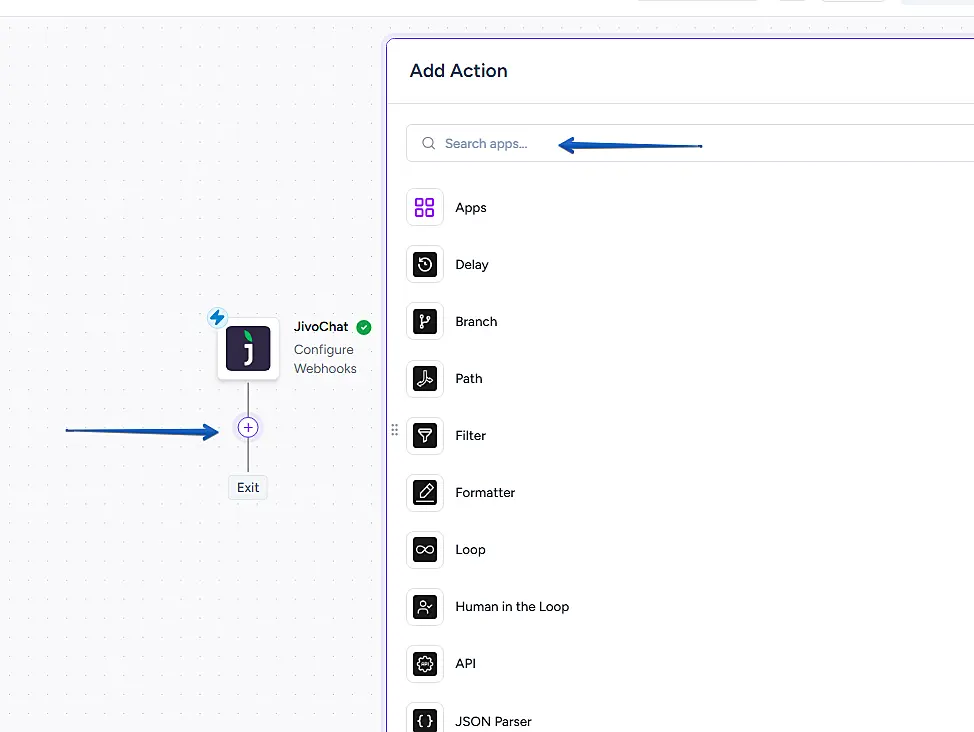
Step 6: Add an Action
With your JivoChat trigger successfully configured, you can now define what happens next.
Click the plus icon (+) below the JivoChat trigger to add a new step.
This will open the "Add Action" menu, where you can search for another app to send your JivoChat data to or use one of Ottokit's built-in tools like Filter, Formatter, or Delay.
You have now successfully connected JivoChat to Ottokit! You can continue building out your workflow by adding more actions to automate your tasks seamlessly.

